Transcript Highlights
We begin on the Project Manager showing how to set a custom frame rate and why it matters for sync. After importing sample footage, I demo color coding bins so you always know where assets live.
On the Edit page, I work through marking in/out points, using trim edits for J-cuts, and enabling snapping for faster alignment. The Color chapter focuses on balancing S-Log3 footage with lift/gamma/gain and layering a creative LUT on a second node.
Finally we hop into Fairlight to set dialogue at -5 dB, duck the score using automation, and export with the YouTube 1080p preset. The bonus chapter covers when to upgrade to Resolve Studio for tools like noise reduction.
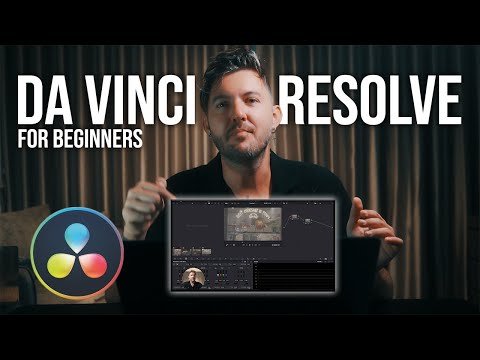
Beginner’s Guide to DaVinci Resolve 2025
Build a complete timeline using the newest version of DaVinci Resolve. This watch page pairs the full video with quick reference notes so you can pause, practice, and resume with confidence.
Runtime: 18 minutes covering download, timeline setup, editing fundamentals, color, audio, and export.
Tools Used: Sony A7C II, DJI Pocket 3, RØDE Wireless PRO, Tamron 28–200mm.
Resources: Includes chapter markers, transcript highlights, and affiliate links to Carl’s gear.
Chapters
- 00:00 – Why Resolve beats pricey subscriptions
- 02:20 – Project setup & frame rates
- 05:10 – Importing and bin organization
- 08:05 – Timeline editing tools you need first
- 12:45 – Intro to color grading and LUTs
- 15:30 – Audio leveling in Fairlight
- 17:10 – Export settings for YouTube & Reels
